Intoduction
In the examples there is a Gyro Drive Example. I started with this example to add my code to turn the robot to the center of the camera blob. This example has two chunks of code in it. One that turns the robot to 90 degrees, the other turns the robot to -90 degrees.
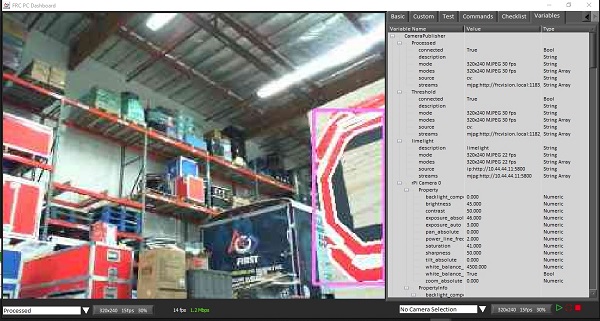
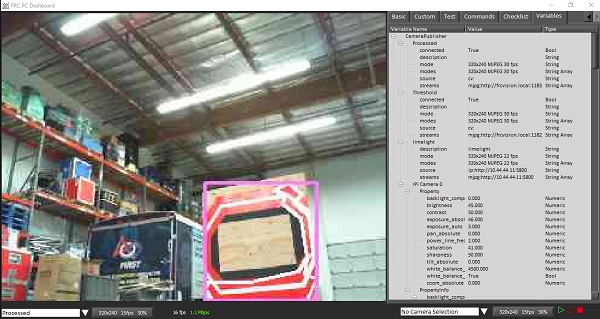
The Camera Subsystem
The Gyro Drive example uses the DriveSystem.java to both find the heading from the Gyro, as well as, driving the wheels. In my new code Im still going to use the DriveSystem to drive the wheels, however the input to the P.I.D. control is going to be the camera. So I built another subsystem called RaspPiCamera.
Basically what this code does is take the X axis from the Raspberry PI image processing and returns it. The X axis coming from the camera is the offset from the left edge of the image. To make my P.I.D. loop match up to the Gyro, I decided to reorient the X to 0 being in the center of the image, and anything to the left side is negative and anything to the right side is positive.
    package frc.robot.subsystems;

    import edu.wpi.first.wpilibj2.command.SubsystemBase;
    import edu.wpi.first.networktables.*;

    import static frc.robot.Constants.RaspPiImage.kXCenter;
    import static frc.robot.Constants.RaspPiImage.kWidth;;

    public class RaspPiCamera extends SubsystemBase {

        NetworkTableEntry mX;
        /**
        * Creates a new DriveSubsystem.
        */
        public RaspPiCamera() {
            NetworkTableInstance inst = NetworkTableInstance.getDefault();
            mX = inst.getEntry("/rp/x");
        }

        @Override
        public void periodic() {
        }

        /**
        * Gets the average distance of the two encoders.
        *
        * @return the average of the two encoder readings
        */
        public double getX() {
            return (kXCenter - mX.getDouble(kXCenter));
        }
    }
The turn to the center command
This code is almost identical to the example code. The only change to the code is to call the Camera Subsystem to get the sensor instead of the Gryo.
    package frc.robot.commands;

    import edu.wpi.first.wpilibj.controller.ProfiledPIDController;
    import edu.wpi.first.wpilibj.trajectory.TrapezoidProfile;
    import edu.wpi.first.wpilibj2.command.ProfiledPIDCommand;

    import frc.robot.Constants.DriveConstants;
    import frc.robot.subsystems.DriveSubsystem;
    import frc.robot.subsystems.RaspPiCamera;

    /**
     * A command that will turn the robot to the specified angle using a motion profile.
     */
    public class TurnToCenterLowGoal extends ProfiledPIDCommand {
      /**
       * Turns to robot to the center of the camera blob.
       *
       * @param targetAngleDegrees The angle to turn to
       * @param drive              The drive subsystem to use
       */
      public TurnToCenterLowGoal(double target, DriveSubsystem drive, RaspPiCamera camera) {
        super(
            new ProfiledPIDController(DriveConstants.kTurnP, DriveConstants.kTurnI,
                                      DriveConstants.kTurnD, new TrapezoidProfile.Constraints(
                DriveConstants.kMaxTurnRateDegPerS,
                DriveConstants.kMaxTurnAccelerationDegPerSSquared)),
            // Close loop on heading
            camera::getX,
            // Set reference to target
            target,
            // Pipe output to turn robot
            (output, setpoint) -> drive.arcadeDrive(0, output),
            // Require the drive
            drive);

        // Set the controller to be continuous (because it is an angle controller)
        getController().enableContinuousInput(-180, 180);
        // Set the controller tolerance - the delta tolerance ensures the robot is stationary at the
        // setpoint before it is considered as having reached the reference
        getController()
            .setTolerance(DriveConstants.kTurnToleranceDeg, DriveConstants.kTurnRateToleranceDegPerS);
      }

      @Override
      public boolean isFinished() {
        // End when the controller is at the reference.
        return getController().atGoal();
      }
    }
Lines from the Robot Controller
I added the 'B' button to call the Camera PID loop.
    // Turn to center of low goal
    new JoystickButton(m_driverController, Button.kB.value)
        .whenPressed(new TurnToCenterLowGoal(0, m_robotDrive, m_raspPiCam).withTimeout(5));